Table of Contents
Cornucopias have been around for thousands of years, and their origins may be traced back to ancient Greek and Roman mythology. Thanksgiving has long been associated with cornucopias as a symbol of abundance in America, and they are also a common sight throughout the country.
If you believe in popular folklore, the Cornucopia (Latin for “horn of plenty”) that appears in Greek mythology can contain just about whatever food or drink you desire is a supernatural goat’s horn. A beautiful cornucopia centerpiece for your Thanksgiving meal, the Cornucopia that we’re about to demonstrate how to create doesn’t have magical refilling abilities.
Cornucopias are often decorated with imitation flowers and vegetation to display food, such as pumpkins, roses, pinecones, and berries. But they can also be used for house décor. To create an autumnal mood in your home, you can now purchase fall decor that may be used in many different ways.
How to make a simple Cornucopia?
This project will require a cornucopia shell, which can usually be bought at your local craft or home décor store. To complete the look, you’ll need to choose a color scheme and pick out some fake floral stems to go with it. Jute string or floral wire is required to keep the bouquet together—the tools you’ll need to build this cornucopia centerpiece wire cutters and a hot glue gun. Hot glue can be used if you choose a more durable attachment method for the Cornucopia.
- Cover the Platter:
Real or fake autumn leaves should be used to cover a large plate at least 14 inches in width. The platter can be substituted for the cutting board or the sheet pan. The Cornucopia should be placed in the middle of the serving dish. You may quickly transfer the Cornucopia by arranging it on a platter, which prevents any damage to the contents.
- Decide your perfect size:
Your cornucopia shell’s size is going to dictate how long you need to cut the stems. To get the desired look, begin by gathering the stems in your hands one at a time. Make sure the bouquet is secure by wrapping the stems with jute twine or florist wire. If desired, the bouquet can be inserted into the cornucopia shell and secured with hot glue.
- Place the Pumpkin:
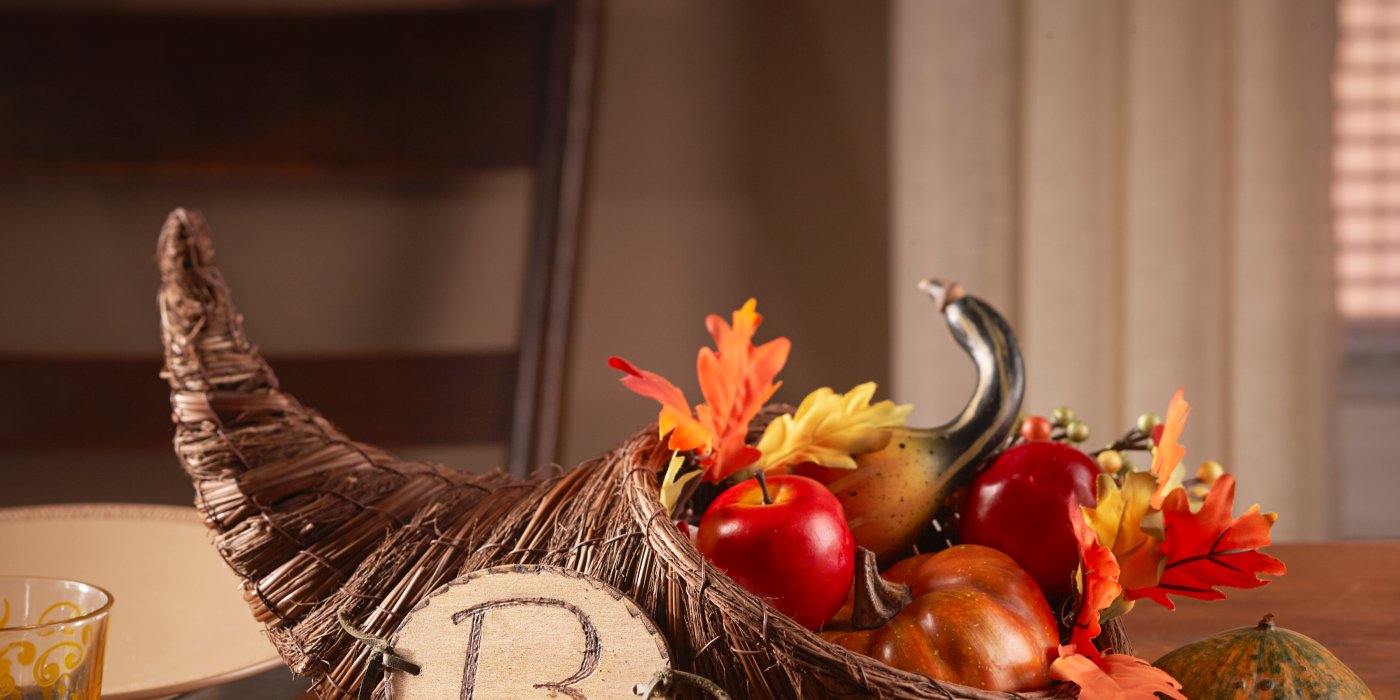
Fill up any space in the Cornucopia that isn’t taken up by the wheat stalks with an 8-inch or more miniature pumpkin. A natural or fake pumpkin can be used. There is less need for more gourds and other items when you place a pumpkin in the back of the Cornucopia, which takes up a lot of space.
- Fill in Gaps:
The Cornucopia should be filled with more leaves to cover any holes. Fill in the Cornucopia’s mouth with excess stems and hot glue for a full effect. Small gourds can also be added to the arrangement to fill in any empty spots.
- Display:
The beauty of a cornucopia centerpiece can be enjoyed all during the fall season when it is placed in an entryway, on a mantle, or a tablecloth. Decorate your Kitchen Island, entryway table, or Thanksgiving table with your lovely DIY floral Cornucopia to celebrate the fall harvest and a grateful time of year.
Conclusion:
If you find all this DIY activity a little overwhelming, then woodflowers.com is providing you with a stunning cornucopia centerpiece for Thanksgiving Day. This is an affordable, beautiful, and everlasting arrangement that makes it easy for you to bring the joy of Thanksgiving.